CUSTOM TENT BUYER GUIDE
Commercial Tent Roof Drainage: Questions to Resolve Before Installation
Plan commercial tent roof drainage by site slope, connected structures, doors, gutters and operations before installation begins.
- Introduction
- 1. Map the site before selecting the final layout
- 2. Review interfaces between tents and buildings
- 3. Protect doors and operating zones
- Mid-article CTA
- 4. Inspect after the first rain event
Water management belongs in the first site discussion, not the final site visit. Roof geometry, linked structures, sidewall configuration, ground fall and existing drains all influence where rainwater goes. A tent quotation can identify the offered roof and gutter components, but the final site drainage plan depends on local conditions and the responsible project team.
For B2B buyers, the right approach is to record observations early and turn them into clear questions. This helps avoid placing a door where water collects or linking structures without a plan for the interface between them.
1. Map the site before selecting the final layout
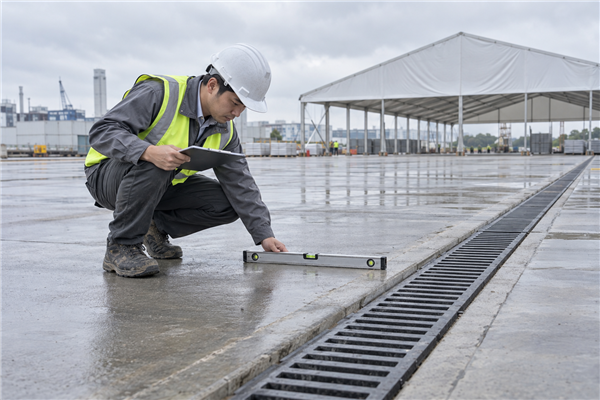
Take wide photographs of the footprint during normal conditions and, if possible, after rain. Mark drains, downpipes, low points, kerbs, slope direction, building runoff and areas that already pond. Note whether the tent will sit beside a loading door, paved yard, grass area or existing building.
Add water observations to the same sketch used for access and doors. A drawing that shows only dimensions is incomplete for an all-season operating structure. The goal is not to perform engineering from photographs; it is to make sure drainage is visible before the manufacturer, installer and local site team make their decisions.
2. Review interfaces between tents and buildings
Where a tent connects to another tent or sits beside a building, identify the gap, roof edge, gutter line and pedestrian route. Water can concentrate at these interfaces if the layout is not coordinated. Do not use a temporary connection as a substitute for reviewing local building water discharge or roof details.
Ask what the tent supply includes and what needs local site works. Gutters, downpipes, drainage channels, ramps and surface repair may be different scopes. Put those responsibilities in writing so water management does not fall between contractors.
3. Protect doors and operating zones
Water near a tent entrance affects safety, cleanliness and logistics. Position doors with ground fall and vehicle approaches in mind, then inspect thresholds after installation. If goods move through the entrance, plan a dry staging area and avoid obstructing drains with pallets or temporary equipment.
During installation preparation, identify the route for water away from the structure and who will clear leaves, debris or temporary blockages. Regular visual checks are a normal operating task, especially after high rainfall or site changes.
Mid-article CTA
Have a site plan or drainage photographs? Send them to TentDawn so the tent layout conversation starts with the right questions.
4. Inspect after the first rain event
The first significant rainfall after handover is a useful check. Walk the perimeter, roof interface and doors; record standing water, unusual flow paths, damaged components or blocked drainage. Compare the site with the expected plan and correct issues through the responsible local teams.
Factory testing and shipment inspection help confirm supplied components before dispatch. On-site drainage performance remains a site-specific result that must be reviewed in actual conditions.
FAQ
Do tents need gutters?
The answer depends on the roof layout, linked structures, climate, site use and water-management plan. Ask for a project-specific discussion rather than assuming every structure has the same requirement.
Can a tent be installed on a sloped site?
Slopes need review for layout, ground preparation, access, anchoring or ballast and drainage. A local site assessment is needed before final installation decisions.
Who is responsible for site drainage?
The project team should assign it explicitly. Tent components, ground works and existing site drainage may be handled by different parties.
Conclusion
Good roof drainage planning begins with evidence: photographs, ground fall, existing drains, interfaces and door routes. Document these inputs early, clarify responsibilities and check the installation after real weather. That process is more dependable than relying on a generic water-resistance claim.
Final CTA
Start with a site-aware tent layout. Contact TentDawn with your footprint and drainage observations.
START A PROJECT
Send us the basics.
We will reply with the right next questions for your custom tent requirement.