CUSTOM TENT BUYER GUIDE
Precast Concrete Storage Tent: Yard Planning Guide
Plan a precast concrete storage tent around element geometry, support points, lifting routes, yard drainage and site-specific engineering.
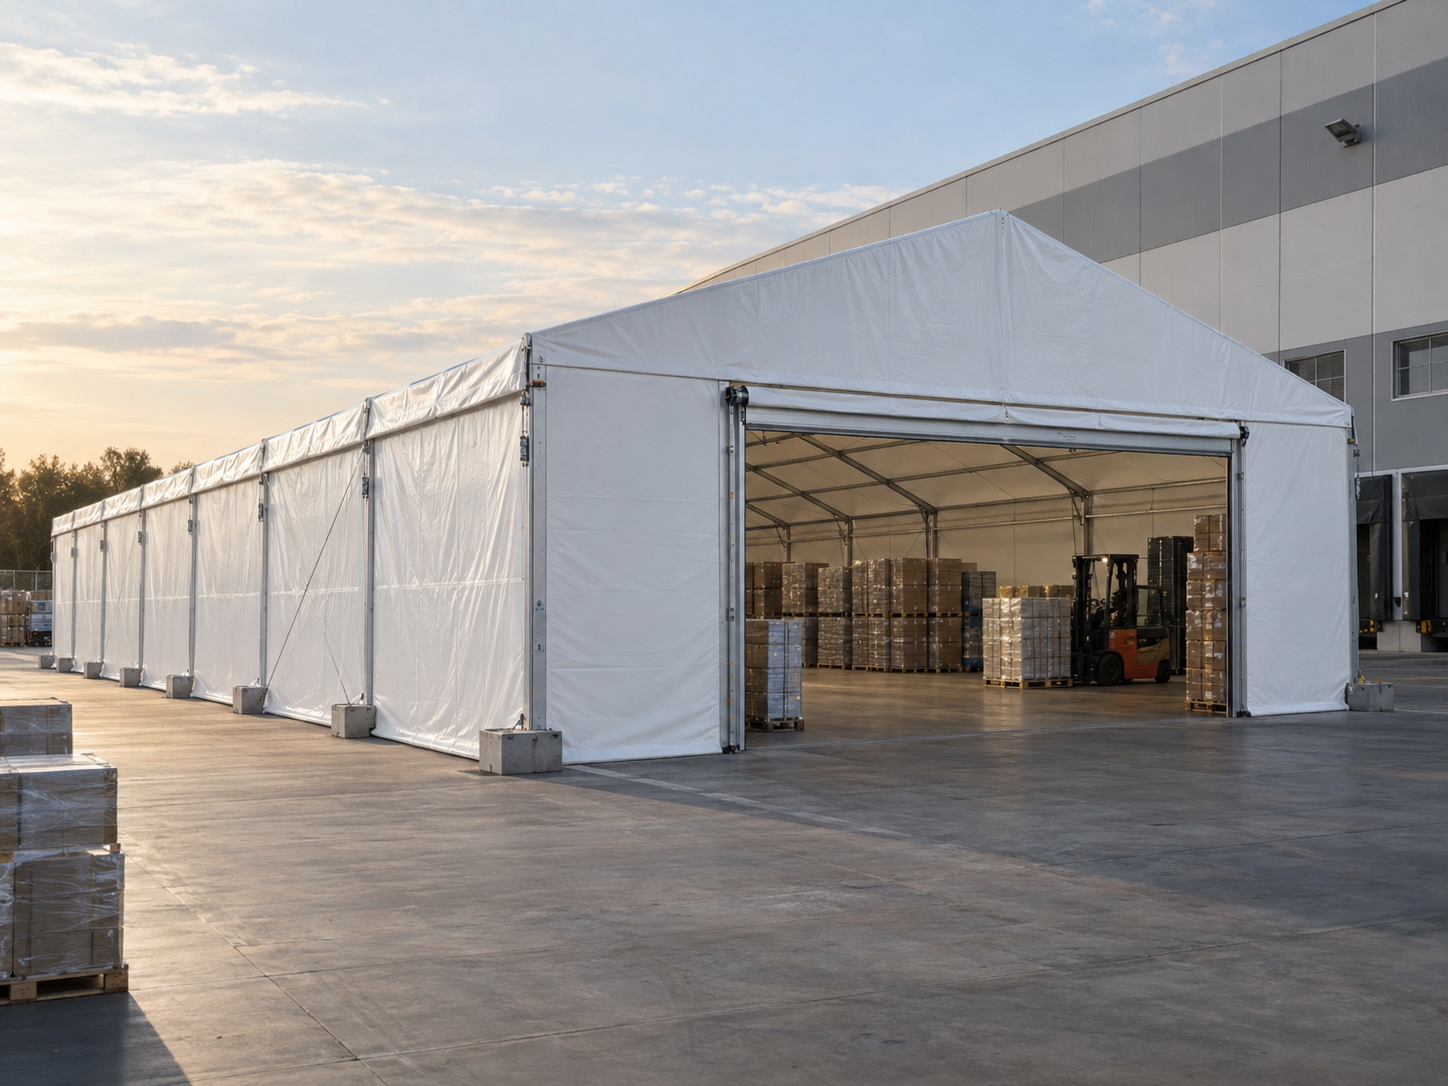
- Introduction
- Quick answer
- Buyer takeaways
- Define the operating requirement
- Survey the site before requesting a final quote
- Turn the requirement into a technical specification
A buyer searching for a precast concrete storage tent is usually solving an operating problem, not shopping for an empty roof. A large clear span may shelter concrete products but can still fail operationally if supports settle, cranes cannot reach, drainage undermines dunnage or elements are stacked without an engineered method. This guide is for precast manufacturers, infrastructure contractors, modular construction teams and yard managers. It explains how to convert the work into a measurable brief, how to divide responsibilities and how to inspect the supplied structure without inventing performance claims.
The related phrases concrete element weather shelter, temporary precast yard canopy, precast component storage building and concrete products warehouse tent describe different ways buyers frame the same decision. They are used naturally here rather than repeated as labels. Examples are planning scenarios, not claims about completed TentDawn customer projects. TentDawn's 8,000 m² Shenzhen factory is user-provided company information; any test or shipment evidence should be requested for the actual order.
Quick answer
List every element type, dimensions, mass, approved support points, lifting method, storage orientation and residence time. Survey crane and trailer routes, ground bearing, drainage and site loads. Keep product stacking and lifting engineering with the precast specialist while the tent supplier designs the shelter around approved interfaces.
A useful purchase specification names the job, site, operating period, dimensions, interfaces, acceptance evidence and exclusions. It also states which decisions belong to the owner, local engineer, safety specialist, installer and equipment provider. That separation protects the buyer from a quote that appears complete only because essential work has been left unnamed. For the precast storage enclosure, attach that responsibility map to the RFQ.
Buyer takeaways
- Define the work process and failure consequence before selecting tent dimensions.
- Survey precast panels, beams or modules, dunnage, A-frames, mobile cranes, gantries, trailers, forklifts and quality-inspection routes in their real operating positions.
- Record site wind, snow, ground, drainage, access and approval inputs.
- Compare complete installed scopes, not shell prices or marketing labels.
- Approve drawings, material references and inspection criteria before production.
- Test the finished arrangement under representative use before handover.
Define the operating requirement
Begin with the job, not the tent catalogue
Map casting release, finishing or patching, quality hold, protected storage, loading and dispatch. Separate rejected or unverified elements so weather cover does not hide status. Use product IDs and storage locations linked to drawings. Plan access for inspection faces, lifting anchors and repairs without moving multiple heavy units unnecessarily. Write the operating sequence in plain language and mark the step that rain, heat, dust, wind or lack of space would interrupt. That step becomes the primary performance question for the enclosure.
State the expected duration, shifts, occupancy, movable equipment and future changes. Temporary does not mean undefined: a three-day intervention, a six-month project and a relocatable fleet demand different packing, maintenance and approval arrangements. If the use could change, list the alternative configuration and the person authorized to approve it. Set these limits explicitly for the precast storage enclosure.
Map equipment and people interfaces
The layout must account for precast panels, beams or modules, dunnage, A-frames, mobile cranes, gantries, trailers, forklifts and quality-inspection routes. Size doors and bays for the element in its transport or rigged orientation. Check boom paths, hook height and safe exclusion areas, not only the product’s static envelope. Draw the actual movement path on the site plan and show the narrowest usable point. Outside dimensions are not clear internal dimensions, and a nominal door size is not necessarily the opening available after tracks, thresholds and deflection allowances.
Use one controlled drawing revision for the supplier, installer and operator. Mark zones for work, storage, vehicle or equipment movement, emergency access and utilities. A predictable failure is locating a gutter discharge beside dunnage or crane outriggers, gradually weakening the yard surface beneath critical loads. Treat that scenario as an acceptance test, with an owner and a measurable result.
Survey the site before requesting a final quote
Record geometry, access and ground conditions
Survey ground capacity, levels, crane outrigger zones, trailer turning, drainage, underground services and adjacent production traffic. The shelter footprint must include gutters, restraints and temporary erection plant. Measure in consistent units and identify the source and date of every critical value. Photographs help explain context, but they do not replace levels, dimensions, utility records or a surveyed layout.
Include the route from public road or depot gate to the installation point. Check container or truck unloading, crane or lift positions, temporary laydown and the longest packaged member. A structure that fits the final footprint can still be impossible to deliver or erect if those temporary work zones are absent. Verify this delivery path for the precast storage enclosure before release.
Capture environmental and operating conditions
Define whether the shelter supports curing, patch repair, coating, inspection or dry storage. Each use changes temperature, humidity, ventilation and contamination requirements. The buyer should not copy a wind speed, snow value or indoor condition from another project. Use the location, adopted rules, equipment instructions and competent specialists to set the design inputs.
Also document drainage, flood exposure, corrosion environment, direct sun, dust, noise and nearby operations. These inputs affect membranes, doors, ventilation, finishes, maintenance and the safe installation sequence. Unknown items should be listed as open decisions, not hidden behind the word “standard.” Rank these exposures for the precast storage enclosure site survey.
Turn the requirement into a technical specification
Define structure and clear geometry
Engineer the tent independently from element supports unless a combined design is commissioned. The frame must not restrain panels, carry cranes or absorb accidental product loads by assumption. The approved drawing should state the dimensional reference points, door clear openings, frame layout and interfaces. If equipment can move or a panel can be removed, show both normal and temporary configurations.
Request the structural design basis and identify who verifies it for the destination. Local approval can require calculations, drawings, product documents and a foundation or anchoring review. Factory conformity evidence is useful, but it does not replace the authority having jurisdiction or a site-specific professional decision. Record the named reviewer in the precast storage enclosure approval register.
Select an envelope for the actual process
Choose open sides for crane access or closures for finishing and storage according to the workflow. Manage roof runoff so it does not erode support areas or create icy and muddy traffic paths. Define what the envelope must do: shed rain, reduce solar gain, limit infiltration, support cleaning or provide a controlled interface. Avoid words such as “all-weather,” “soundproof” or “climate-controlled” unless test conditions and acceptance limits are written down.
Specify robust lower walls, corrosion-resistant hardware, large doors, gutters and repairable membrane. Protect the shell from impact with barriers or planned stand-off zones. Samples and reports must match the offered product. Printing, windows, liners, coatings and replacement panels can change the relevant construction, so substitutions should trigger documented review before cutting or assembly.
Compare workable configuration options
Compare a runway-style open canopy, a fully enclosed storage tent and covered repair bays. Evaluate crane reach, usable element positions, drainage, lighting and expansion. Include civil work, installation plant, utilities, operating labor, maintenance and demobilization in the comparison. A more elaborate system is justified only when its additional function is needed and verifiable.
Use the same site and operating assumptions for every bid. If one supplier excludes anchoring, doors or installation while another includes them, normalize the scope before comparing totals. Record unresolved items separately so procurement does not silently treat them as included. Normalize these exclusions in the precast storage enclosure bid table.
Use evidence without blurring responsibilities
Put official guidance in context
Review OSHA precast concrete construction requirements and OSHA materials handling and storage guidance. OSHA precast concrete construction requirements provides context for precast handling, support and erection context; OSHA materials handling and storage guidance provides context for movement, stacking and storage principles. These references help the project team ask better questions; they do not approve a structure, method or workplace in every jurisdiction.
The project should identify applicable editions, local adoption and the competent reviewer. A tent manufacturer can provide product drawings, materials, calculations within its agreed scope and batch records. The owner and appointed specialists remain responsible for the site, regulated process, third-party equipment and operational controls unless the contract explicitly assigns otherwise. Keep that boundary visible in the precast storage enclosure responsibility matrix.
Create a responsibility matrix
Assign one named party to structural verification, site preparation, anchors or ballast, utilities, specialist process design, fire and life safety, installation, inspection and final authorization. Normalize proposals for clear height, openings, anchoring, gutters, impact protection, foundations, installation and future bays. Keep element stacking and lifting design as named owner or specialist scope. Put exclusions beside the price so they cannot disappear between quotation and purchase order.
Change control matters after approval. A different door, frame profile, membrane, site or operating process can invalidate earlier assumptions. Require written review before a substitute enters production or a field crew modifies the structure. Route every change through the precast storage enclosure approval log.
Compare suppliers and approve the order
Ask for comparable quotation evidence
A credible quote for precast concrete storage tent should include the approved geometry, material schedule, structural assumptions, openings, accessories, packing method, production lead-time basis and inspection stages. It should also identify documents supplied before deposit, before production and before shipment.
Beware of undefined certificates, copied project photographs and claims that a single fabric test makes an entire installed structure compliant. Ask for the issuing body, specimen, standard, date and relationship to the offered material. For calculations, confirm the site inputs and drawing revision. Index accepted evidence in the precast storage enclosure document register.
Use a staged approval process
A practical sequence is: requirement brief, site survey, budget configuration, design review, material or component sample, final drawing, production release, factory inspection, shipment release and site acceptance. Each gate should have a decision owner and a retained record. Use these gates in the precast storage enclosure production schedule.
Where a detail is new or critical, approve a first article or mock-up. That may be a door bay, liner joint, service opening, floor transition or packing kit. Fixing an interface at the factory is usually easier than improvising after overseas delivery. Select the mock-up around the precast storage enclosure critical interface.
Mid-article CTA
Planning a precast concrete storage tent? Send TentDawn your site plan, operating brief, quantity and destination. Ask for a configuration proposal that separates supplied scope, project responsibilities and open technical decisions.
Factory testing and shipment inspection
Inspect against the approved revision
Trial large door or open-bay details, inspect reinforced lower panels and measure frame clearances. Verify labels and packing order for long members and expansion bays. An inspection checklist should name the tool, sample size, tolerance or pass criterion and evidence to retain. “Checked” is not a result unless the buyer can see what was checked and against which requirement.
In TentDawn's Shenzhen production setting, useful controls can include incoming-material identity, cutting records, weld or seam review, frame and connector checks, trial fit, label verification and packing reconciliation. The exact inspection plan belongs to the order; this article does not claim those checks have already been completed for an unspecified batch. Tailor the checklist to the precast storage enclosure purchase specification.
Prepare for traceable delivery
Protect long frame profiles from bending, separate door and gutter kits, and label bays for installation sequence. Include replacement lower-wall panels or repair materials if specified. Photograph package condition and labels at release. Give the consignee the packing list, drawing register, installation instructions, maintenance information and agreed reports in a version-controlled handover set.
At receipt, inspect visible damage before opening, reconcile package counts and quarantine damaged or wet items. Do not wait until the installation crew is mobilized to discover a missing door rail, connector or fastener kit.
Installation, commissioning and maintenance
Coordinate installation preparation
Prepare the ground, drainage and element exclusion zone before tent erection. Coordinate cranes so structural installation and precast movements do not share uncontrolled space. Confirm foundations or ballast, utilities, access equipment, tools, crew competence, weather forecast and emergency arrangements before unloading. Set hold points for the first frame, bracing, membrane tension, doors and final anchoring.
Never modify a structural member, omit a brace or add an equipment load because it appears convenient. Record field changes and obtain the required engineering or manufacturer review before continuing.
Test the completed operating arrangement
Move one representative element or transport frame through the route, checking hook height, doors, support locations, drainage and emergency access before filling the shelter. Site acceptance should include photographs, measurements, open defects and responsible sign-off. A factory inspection proves conformity to an order; commissioning proves whether the installed interfaces work at this location.
Inspect impact guards, membrane, restraints, doors, gutters and ground condition. Stop using any area affected by settlement, vehicle strike or unreviewed layout change. Provide inspection frequency, severe-weather actions, cleaning, repair materials, spare parts and escalation criteria. Keep a serial or kit record so replacement parts correspond to the correct drawing and material revision.
Related TentDawn resources include construction site tent planning, warehouse tent buyer guide, commercial tent roof drainage guide. Use them to develop the site, engineering and handover parts of the same procurement file.
Procurement worksheet
- State the primary operation and the consequence if the enclosure fails.
- List all equipment, loads, people and utilities crossing the tent boundary.
- Attach a dimensioned site plan with access and installation zones.
- Record location-specific weather, ground, drainage and corrosion inputs.
- Define clear openings and internal working envelopes at the worst case.
- Assign structural, safety, utility and process-design responsibilities.
- Approve materials, drawings, substitutions and document requirements.
- Write factory inspection and packing acceptance criteria.
- Plan installation hold points and representative commissioning tests.
- Retain handover, maintenance and change-control records for the life of the kit.
FAQ
Can precast elements lean against the tent frame?
No, unless a combined engineered design explicitly permits it. Precast products need approved support and restraint systems designed by competent specialists. The tent frame should be protected from accidental contact and treated as a separate structure.
How is clear height determined?
Use the tallest element in its rigged orientation, hook and lifting-beam geometry, crane approach and required safety clearances. Check roof geometry and deflection, not only eave height. Show the complete lifting path on the layout.
Does the tent replace a curing enclosure?
Not automatically. Curing depends on the concrete system, age, temperature, moisture and project specification. A tent can support environmental control, but the precast producer must define, monitor and accept the curing method.
What ground information is needed?
Provide levels, drainage, surface construction, bearing information for supports and erection plant, underground services and settlement history. Structural and civil professionals should verify foundations or ballast and all product-support areas.
What should site acceptance include?
Check frame, restraints, doors, gutters, impact protection and the representative element route. Confirm that support zones and crane positions match approved drawings. Keep product handling sign-off separate from the tent handover.
Conclusion
A reliable precast concrete storage tent starts with a defined operation, verified site inputs and honest responsibility boundaries. The best proposal is not the one with the most confident adjectives; it is the one whose geometry, materials, engineering basis, inspection evidence and exclusions can be checked. Complete a representative site acceptance test before relying on the enclosure in routine operations.
Final CTA
Ready to prepare a supplier-ready brief? Contact TentDawn with the use, dimensions, quantity, destination and target schedule. Request drawings, material options, batch inspection evidence and clearly stated exclusions.
START A PROJECT
Send us the basics.
We will reply with the right next questions for your custom tent requirement.